Installing J-Doc Desktop Synchronization Client
If you have access to one or more J-Doc space(s), you can download the ‘Desktop Synchronization Client’ on your computer.
It will allow you to automatically synchronize all your files and folders from your J-Doc account to your workstation.. This way, all your files would be available in their latest version, even without Internet access.
Guidelines to install the ‘Sync Client’on your computer in less than 5 min
Prerequisite
- Access code to an operational J-Doc platform. It looks like :
https://nameofthesite.j-doc.com
Username = xxxxx Password = pwpwp
- Administrator rights on the computer where you install the ‘Sync Client’.
If you do not have such rights, ask to your IT service to proceed the software installation.
- An Internet connection for the computer.
0 On your computer, create the new folder that will be synchronized with J-Doc’s ones.
Important : Please note that you must create this folder. It is intended to hold a copy of the folder tree from your J-Doc space.
This folder is part of your computer or company LAN.
I.E., Create the folder D:\Antony\share (You'll find it at the end of this process)
1 Download the appropriate desktop client


MAC OSX 10.10+ (under 10.12) link for the client software OSX 10.10+ légacy
MAC Osx 10.12+ (temporary) Link for an old version Mac 10.12+ in case of issue (march-may 2020)
(Same links are available on the official ‘NextCloud download page’ click.)
2 Install the downloaded synchronization client on your computer
Launch the program you downloaded to your computer.
Note: You must be granted administrator rights to do so.
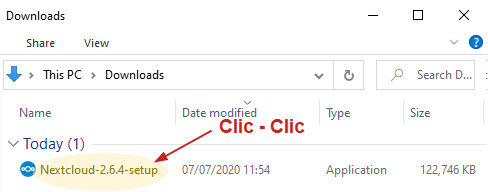
Click on ‘Run’ in response to the question, ’Do you want to run this file?'

that you’re installing
NextCloud.
It’s fine! (J-Doc is build using
Nextcloud's components )

Click on Next >
(or choose
parameters recom-
mended by your
IT manager)
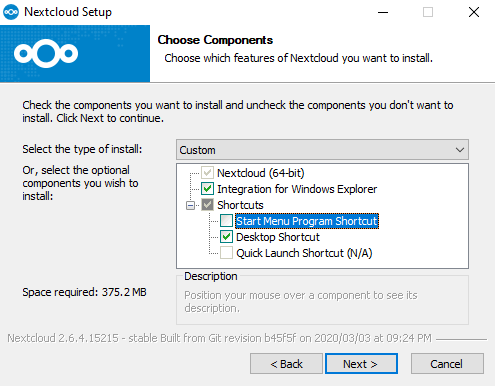
If you don’t know in which folder you need to install, NextCloud leave the suggested settings
and click on ‘Install’. Otherwise, following the indications of your IT manager, choose the system folder

When the installation process is complete, click on ‘Next’>

Continue by clicking on ‘Finish’

3 Configuring the ‘Desktop Sync Client’
Click [ Log in ] button

Enter your J-Doc server address: http://mycompanysite.j-doc.com (see above),
Then click on [Next >]

Just click on [Log in -> ] button
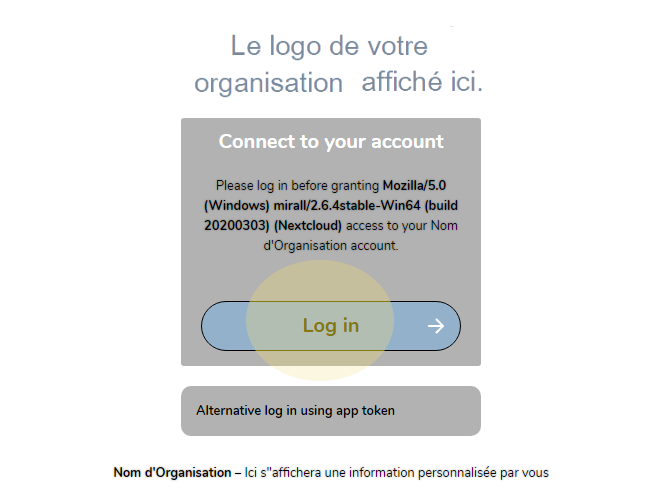
Enter your username and password, then click on [Log in -> ] button

Click on [ Allow access -> ] button

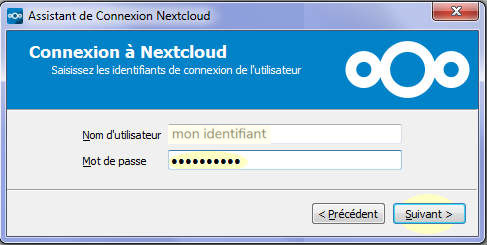
You will have to enter your username and password again,
then click on [ Next ].
- Important Iyou’ll have to select the previously created local folder that will be synchronized with your J-doc space..
It is the empty folder you created at step 0.
In the exemple it is the folder D:\Antonyshared you created at step 0 - You can decide whether you want to synchronize your J-doc space
entirely or only a part using the ‘Choose what to sync’ option.
Then, click on [ Connect ] ...

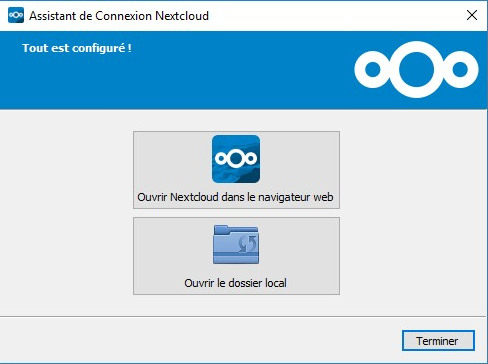
Your local folder is now automatically synced with J-Doc’s folders.
The rights granted for you by your J-Doc administrator also apply to your local folder.
WARNING : If your J-Doc space contains a lot of data, be aware that the first synchronization can take much longer than the following ones. You’ll have to be patient the first time.